Exploring the stippling technique
Let's explore together the stippling technique in illustration!
Today let's talk about exploring the stippling technique! I follow many YouTube channels and blogs about illustration and the other day I found a very inspiring post talking about this technique.
The author is an amazing artist. Her name is Helen Cousins and I recommend you to take a look at her blog, as she explains how she works (mainly with watercolors). You can visit their site here.
Uff, I don't know about you, but I always feel very inspired after seeing other artists' works, so I always feel like starting to work on my own compositions.
I had heard about this technique before, but I had never tried it, so I thought it would be very interesting to give it a try to practice a little with ink.
I have chosen as a reference image this one from PxHere. I recommend you to take a look at this website, as it is really worth to find free beautiful photos.

Well, the first part is to make a sketch of the tulip. I used an H pencil and a mechanical pencil (I use the Pentel GraphGear 1000).

When I have completed the sketch, I transfer the illustration to tracing paper, using the light table. For inking, I used Sakura Sigma Micron markers.
This way, I will have the copy available on the tracing paper to make other possible works with the same tulip, I can even repeat this same work later if I want to improve it.
This is how it looks
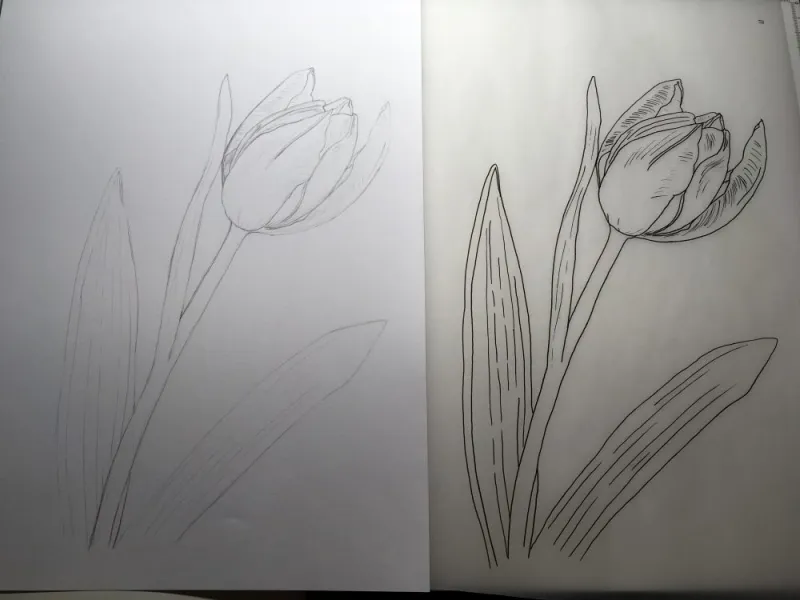
After this intermediate step, I transfer the illustration back to the final paper. I have to trace all the lines carefully, marking all the lines of the flower and once this step is done, I can start with the most fun part of the stippling.
The logic is very simple: we will concentrate more points in the zones representing the darker areas of shadows and fewer points in the zones representing the light areas.

The most important objective in this technique is that the stitches always remain as dots and not as small stripes, so it is important to be very patient. This is a technique in which patience and concentration are very necessary.
The direction of the stitches is also very important. Instead of making random stitches, it is necessary to think about the orientation they will follow, in order to give shape to the areas they will occupy, whether it is a fold of a petal or the stem of the flower itself.
Here I show another image of the process.

Finally, in Photoshop I added color to form this simple illustration. What do you think of the result?

See you soon!